Learning to perform basic bike repairs at home can save you time, money, and the frustration of being stranded with a mechanical issue. While some repairs require professional expertise, many common problems can be fixed with basic tools and a little know-how. This comprehensive guide will walk you through the most common bike repairs, helping you become more self-sufficient and confident in maintaining your bicycle.
Essential Tools for DIY Repairs
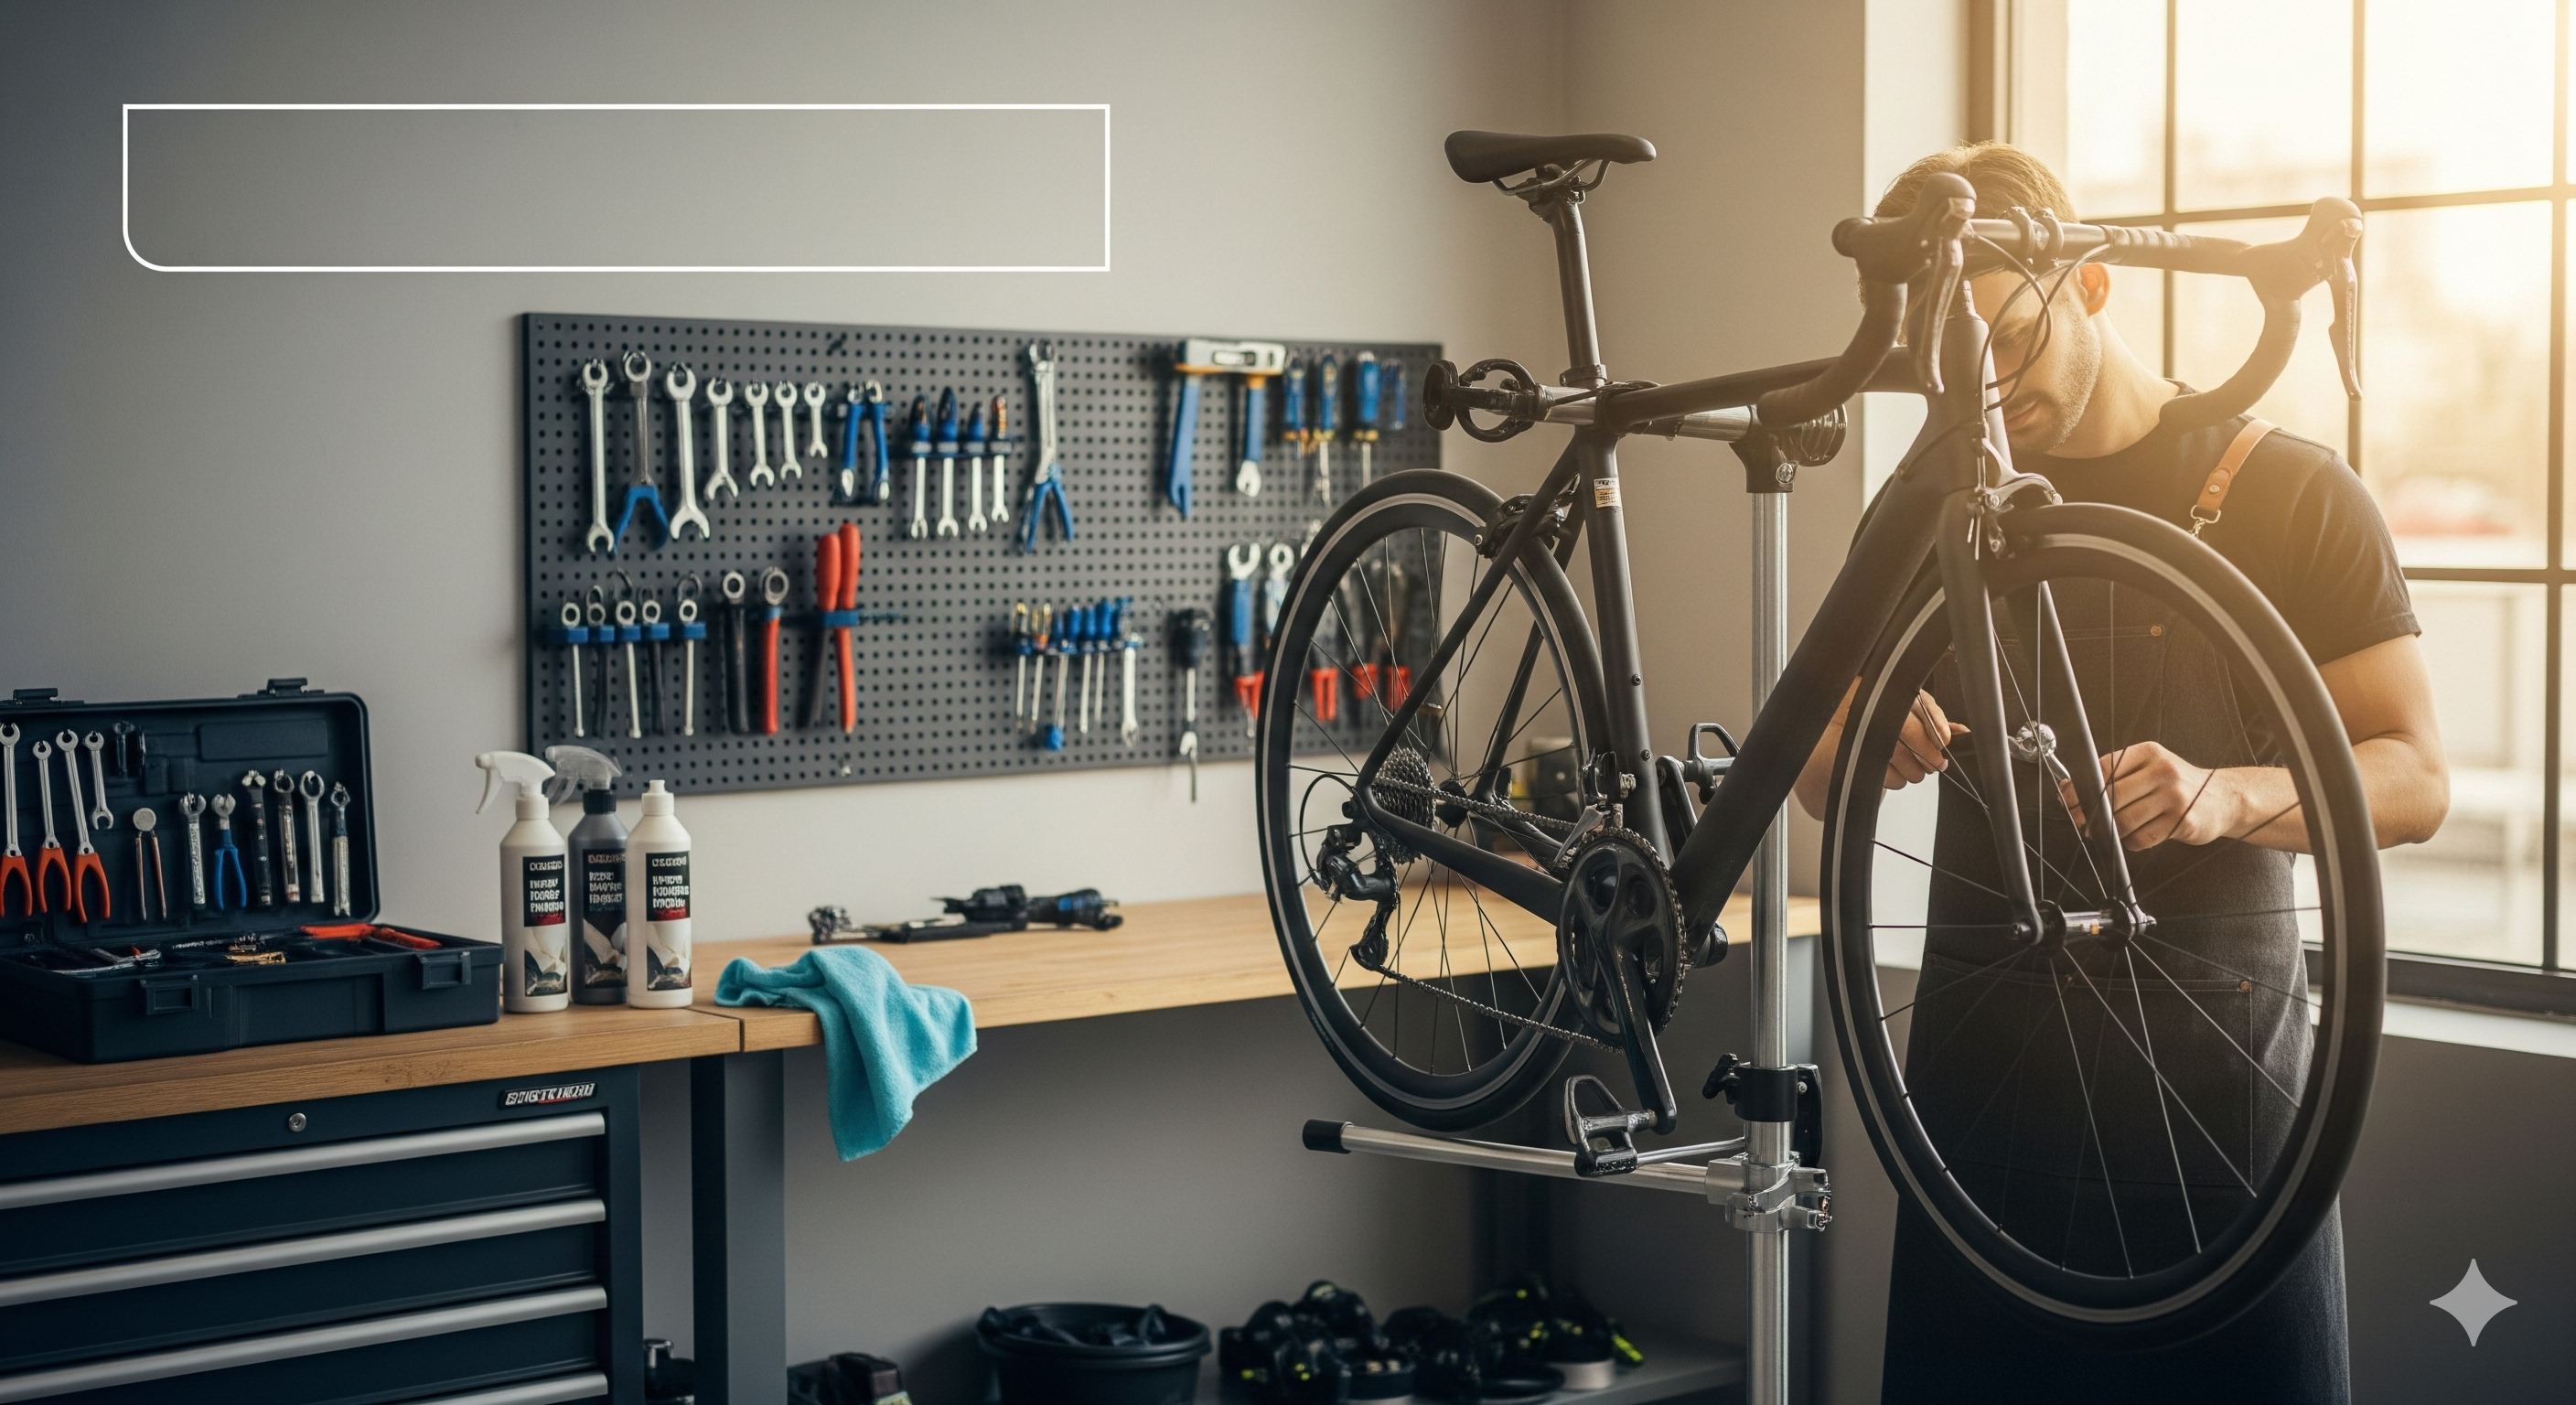
Before diving into repairs, you'll need a basic toolkit. Here are the essential tools every cyclist should have:
Basic Tool Kit
- • Multi-tool with hex keys (2-8mm)
- • Tire levers (2-3 pieces)
- • Floor pump with pressure gauge
- • Chain tool
- • Adjustable wrench
- • Screwdrivers (Phillips and flathead)
Advanced Tools
- • Cable cutters
- • Chain whip and cassette tool
- • Bottom bracket tool
- • Torque wrench
- • Bike stand or repair clamp
- • Degreaser and lubricants
Fixing a Flat Tire
Flat tires are the most common cycling problem. Here's how to fix them step by step:
Step-by-Step Tire Repair
What You'll Need
Tire levers, spare tube or patch kit, portable pump, and clean rags.
- Remove the wheel: For rear wheels, shift to the smallest cog first. Open the brake (if rim brakes) and release the quick-release or thru-axle.
- Remove the tire: Insert tire levers between the tire and rim, about 4-6 inches apart. Hook one lever to a spoke and use the second to work around the tire.
- Find the puncture: Remove the old tube and inspect both the tube and tire interior for the cause of the puncture.
- Install new tube: Slightly inflate the new tube, insert the valve through the rim hole, and work the tube into the tire.
- Reinstall the tire: Starting at the valve, work the tire bead back onto the rim using your hands (avoid tire levers for this step).
- Inflate and reinstall: Inflate to proper pressure and reinstall the wheel, ensuring it's centered and secure.
Pro Tip
Always check inside the tire for debris before installing a new tube. A small piece of glass or thorn can cause repeated flats if not removed.
Adjusting Brakes
Properly functioning brakes are crucial for safety. Here's how to adjust both rim and disc brakes:
Rim Brake Adjustment
- Check brake pad alignment - they should contact the rim squarely
- Adjust cable tension using the barrel adjuster
- Ensure equal spacing between pads and rim on both sides
- Replace worn brake pads when the grooves disappear
Disc Brake Maintenance
- Check rotor for warping by spinning the wheel
- Clean rotors with isopropyl alcohol
- Adjust caliper alignment if rubbing occurs
- Bleed hydraulic brakes when lever feels spongy
Chain Maintenance and Repair
A well-maintained chain improves shifting and extends component life:
Chain Cleaning Process
Step 1: Degrease
Apply degreaser to the chain and let it sit for 5-10 minutes. Use a chain cleaning tool or old toothbrush to scrub away grime.
Step 2: Rinse and Dry
Rinse with water and dry thoroughly with a clean rag. Ensure no water remains in the links.
Step 3: Lubricate
Apply chain lube to each link while backpedaling. Wipe excess lube to prevent dirt attraction.
Fixing a Broken Chain
- Locate the broken or damaged link
- Use a chain tool to push out the damaged pin
- Remove the damaged link(s)
- Reconnect the chain using a quick link or by pushing in a new pin
- Test the repair by shifting through all gears
Derailleur Adjustments
Poor shifting is often caused by derailleur misalignment or cable tension issues:
Rear Derailleur Adjustment
Basic Adjustments
- • High limit screw (H): Prevents chain from falling off smallest cog
- • Low limit screw (L): Prevents chain from falling into spokes
- • B-tension screw: Sets distance between jockey wheel and cassette
- • Barrel adjuster: Fine-tunes cable tension for smooth shifting
Common Shifting Problems
- Skipping gears: Usually caused by worn chain or cassette
- Slow shifting to larger cogs: Increase cable tension
- Slow shifting to smaller cogs: Decrease cable tension
- Chain rub in front: Adjust front derailleur limit screws
Wheel Maintenance
Keeping your wheels true and properly tensioned ensures smooth riding:
Checking Wheel Trueness
- Flip your bike upside down or use a repair stand
- Spin the wheel and watch for side-to-side wobbling
- Use brake pads or a fixed reference point to identify high spots
- Mark problem areas with chalk or tape
Basic Wheel Truing
Caution
Wheel truing requires experience and proper tools. Start with minor adjustments and consider professional help for severely damaged wheels.
Headset and Steering Issues
A loose or tight headset affects steering and bike handling:
Diagnosing Headset Problems
- Loose headset: Knocking sound when braking, play in steering
- Tight headset: Steering doesn't return to center, notchy feeling
- Worn bearings: Grinding sensation when turning handlebars
Basic Headset Adjustment
- Loosen the stem bolts (usually 4-6mm hex)
- Adjust the top cap bolt to eliminate play without overtightening
- Align the stem with the front wheel
- Retighten stem bolts to manufacturer's torque specification
When to Seek Professional Help
While many repairs can be done at home, some require professional expertise:
DIY-Friendly Repairs
- • Flat tire repair
- • Chain cleaning and lubrication
- • Basic brake adjustments
- • Simple derailleur tuning
- • Seat and handlebar adjustments
Professional Required
- • Bottom bracket service
- • Hydraulic brake bleeding
- • Wheel building
- • Frame damage repair
- • Internal cable routing
Building Your Repair Skills
Developing DIY repair skills takes time and practice:
Learning Resources
- Online video tutorials from reputable sources
- Local bike maintenance classes
- Bike repair manuals and guides
- Practice on old or inexpensive bikes
- Join local cycling groups for hands-on learning
Start Small
Begin with simple repairs like tire changes and chain cleaning. As your confidence grows, tackle more complex adjustments. Always prioritize safety over saving money.
Preventive Maintenance Schedule
Regular maintenance prevents many common problems:
Weekly (or every 100 miles)
Check tire pressure, clean and lube chain, inspect brakes, test shifting
Monthly (or every 300 miles)
Deep clean bike, check bolt tightness, inspect cables and housing, check wheel trueness
Seasonally (or every 1000 miles)
Professional tune-up, replace worn components, service bearings, comprehensive safety check
Conclusion
Learning DIY bike repairs is a rewarding skill that enhances your cycling experience. Start with basic maintenance tasks and gradually build your expertise. Remember that safety should always be your top priority - when in doubt, consult a professional mechanic.
With practice and patience, you'll develop the confidence to handle most common bike issues, saving money and gaining a deeper understanding of how your bike works. Keep learning, stay curious, and enjoy the satisfaction of maintaining your own bicycle.
Need Professional Help?
Our expert mechanics are here when you need professional service and repairs.
Book Service